● Start · 15 minutes
Getting started
from the ZIP to the Simulator.
The short way to see Nescroll running. You need a Mac with Xcode and Homebrew. The Lock tab needs a real iPhone, everything else works in the Simulator.
01Quick start: five steps
A step-by-step walkthrough from the ZIP to the first run in the Simulator.
- Unpack the ZIP into a folder without spaces in its path, for example
~/Projects/nescroll. - Install XcodeGen (once per Mac). It turns
app/project.ymlinto an Xcode project.brew install xcodegen - Generate the Xcode project
This createscd ~/Projects/nescroll/app xcodegen generateNoReels.xcodeprojnext toproject.yml. - Open it
open NoReels.xcodeproj - Run Pick an iPhone simulator in the Xcode toolbar, choose the NoReels scheme and press Run (Cmd-R). The onboarding appears, then the five tabs.
Verified
xcodegen generate and a full build plus test run of the NoReels scheme were checked on 2026-11-10 with Xcode 27.1, XcodeGen 2.45.2 and an iPhone 18 Pro simulator.
02What you see on first launch
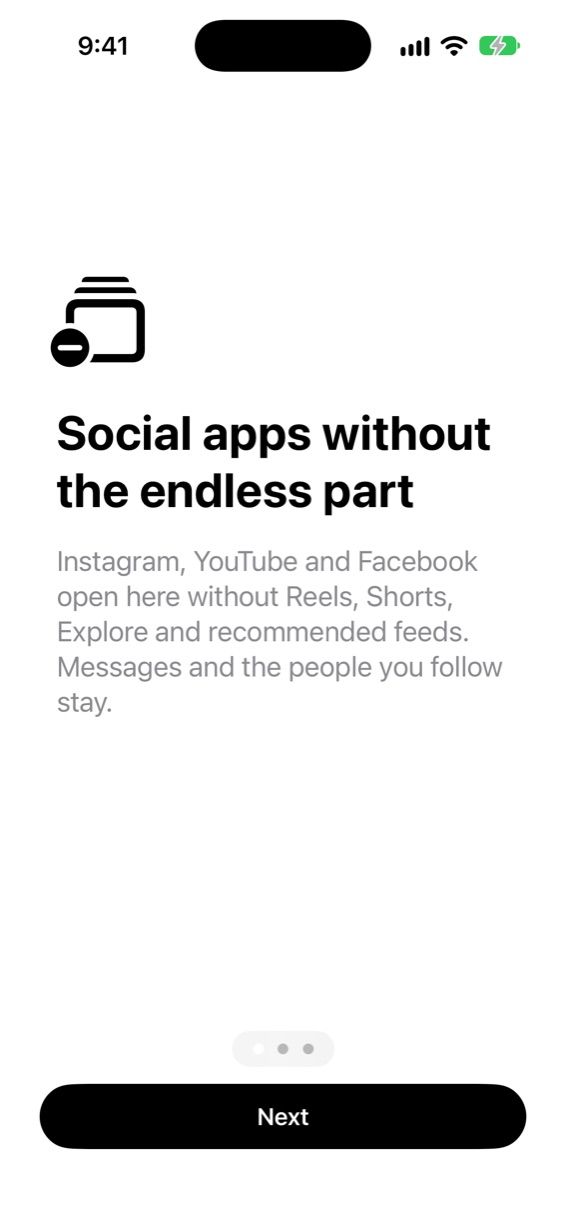
Three onboarding screens explain what the app does, what iOS allows and how sign-in works (OnboardingView.swift). After Start, the app opens on the first site tab. Sign in on each site's own login page the first time.
03Next
- Put your own name and IDs in: Rebrand in 10 minutes.
- Run on your iPhone and test the Lock tab: Installation, run on a device.
- Request the Screen Time entitlement early, it can take weeks: Screen Time.